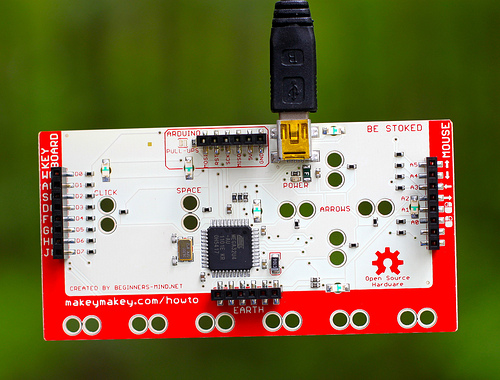
Our MakeyMakey arrived today (13 days after shipping (we were in the Kickstarter) for those counting) (and thankfully no problems with customs)! Following the Howto as linked on the back of the board was great for the basic stuff (and I spent more time with the ‘one button games‘ that I should have) but I was immediately drawn to the arduino-ness of the board, but didn’t see anything on the HowTo page. After digging through the forums and following a few links I’ve deduced the following setups:
- If you don’t already have an arduino, download the IDE
- Hit up the MakeyMakey Sparkfun page for links to the latest versions of the following.
- If you’re on windows, download the driver (presently here) and extract the folder somewhere on your system. Open up ‘Device Manager’ and find the ‘USB IO’ device that’s unknown (unless of course you didn’t follow the Howto instructions on ignoring the pop-ups during first connection, then you can just use those links), and click through to it to manually install the driver, and then browse to the place you extracted the ‘driver’ folder.
 Download the ‘Makey Makey Arduino Addon‘, which will have a ‘hardware’ folder and a readme. Either read through the readme, or copy & paste the hardware folder to your ‘sketchbook location’ (find yours in your arduino environment under File->Preferences). You can also find this on github here. Having this in place means that under “Tools -> Board” in your sketch software you’ll now have the custom config for the MakeyMakey version of Arduino.
- If you want somewhere to start from — e.g. just want to alter what letters are assigned to which pins copy the files from this makey_makey github to a sketch folder and load it up and tweak. This is also the code to reload your makey makey if you happen to have tried some other arduino program before you found this page and bricked your makey makey.
Hopefully I’ll post some updates as to what the kids come up with soon, but for now, here’s the ad from the makers of this open-source piece of awesome:
Sparkfun has a tutorial posted as well.
